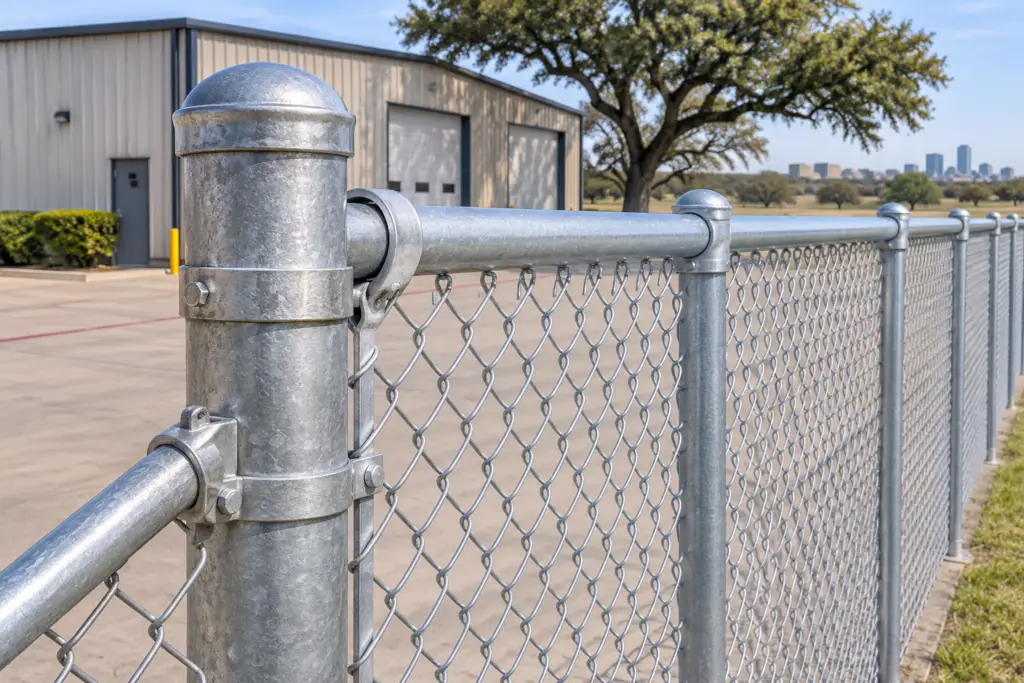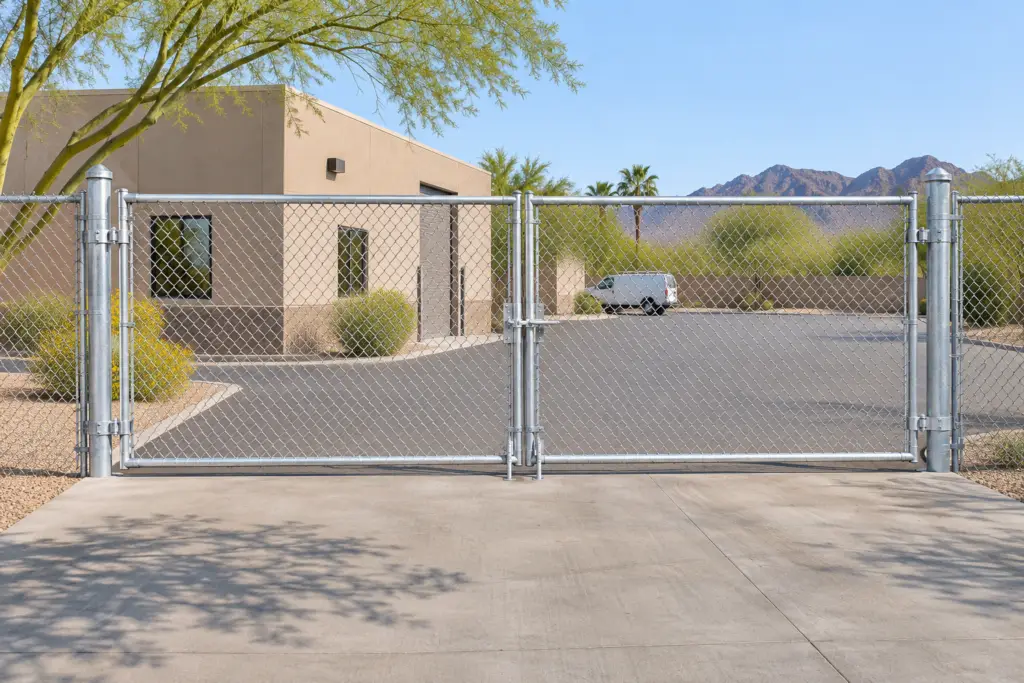
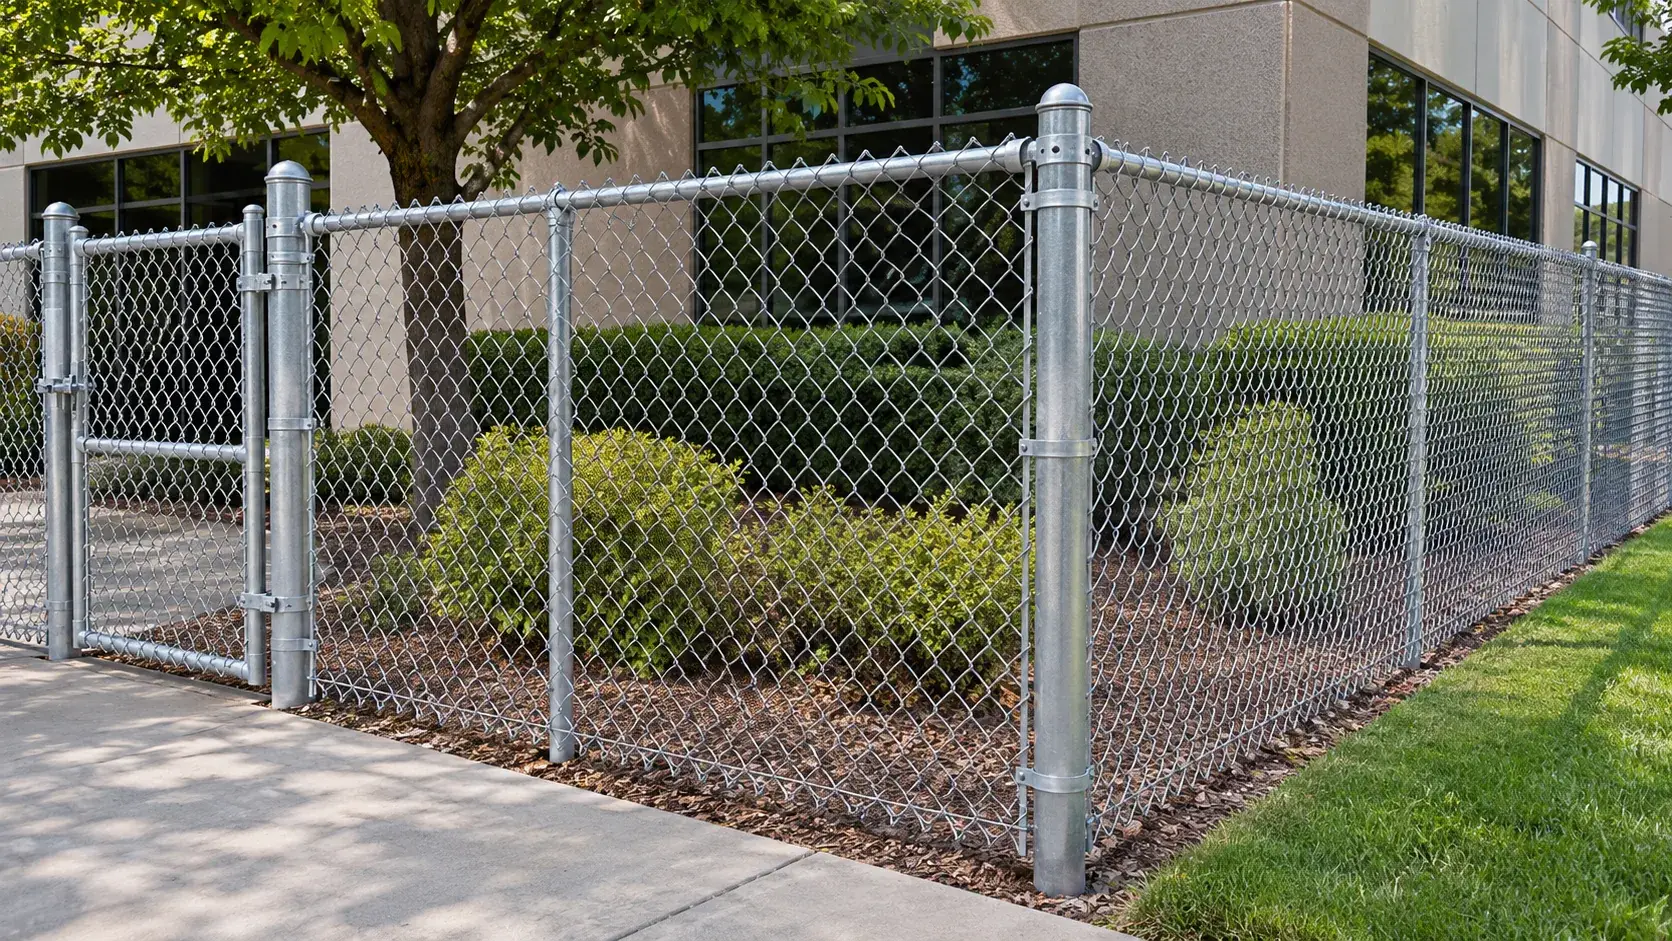
A chain-link fence uses posts at different positions along the layout. Listing every post under one size and quantity can hide the requirements at ends, corners and gates. Organize the framework by location and role before comparing quotations.
The final post dimensions and arrangement should follow your project design. This guide explains how to describe the schedule for a materials inquiry; it does not select structural sizes or foundation details.
Identify where each post belongs
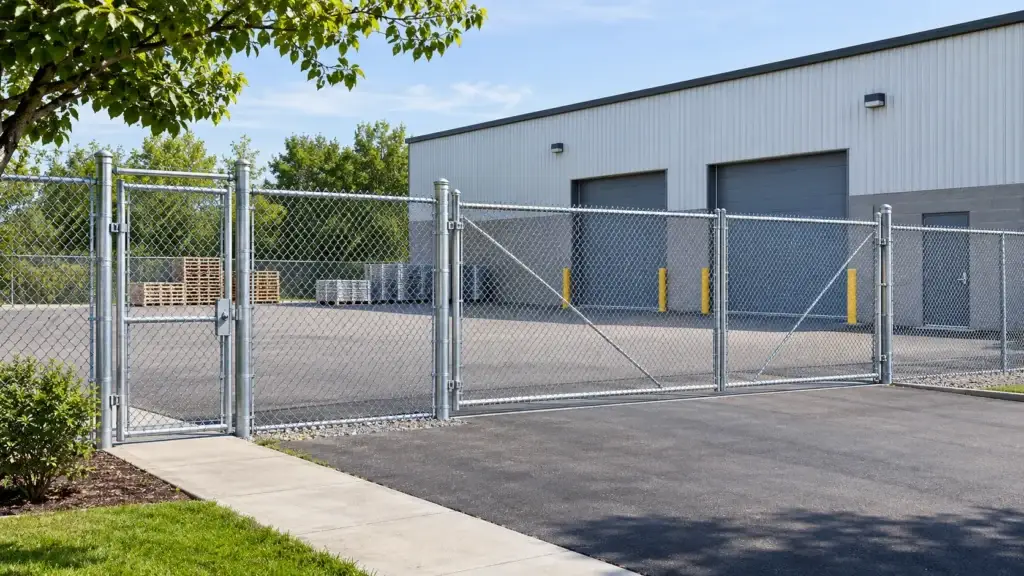
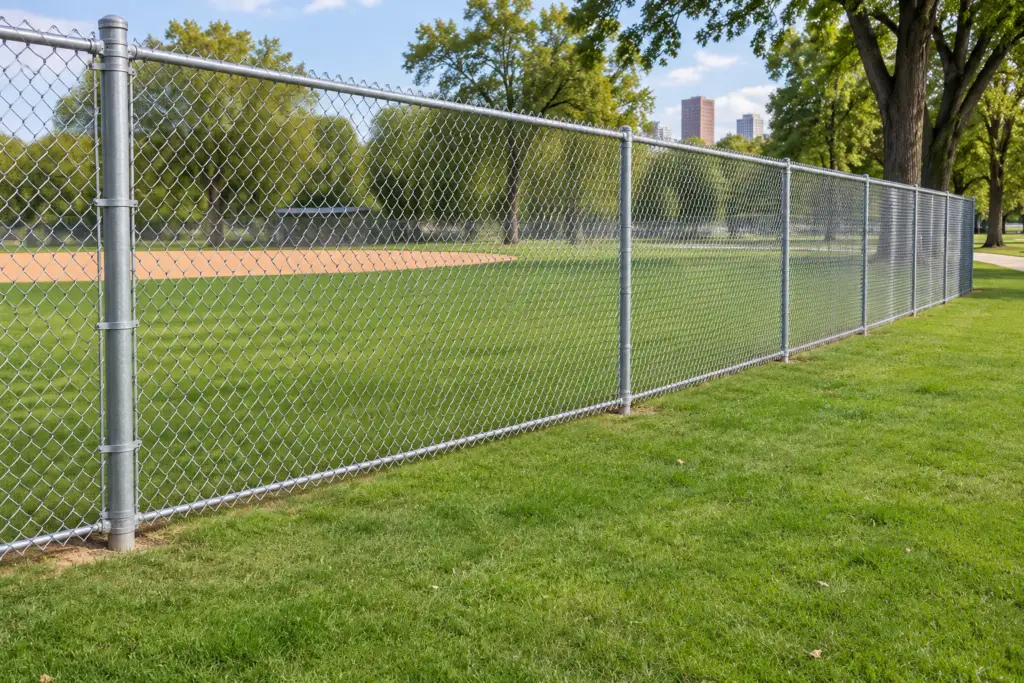
Line posts support the fence along its runs. End posts identify where a run terminates. Corner posts sit where the fence changes direction, while gate posts support or form part of the gate opening arrangement.
These labels help describe the layout, but they do not prove that two posts can use the same tube specification. Record the requirements established for each position.
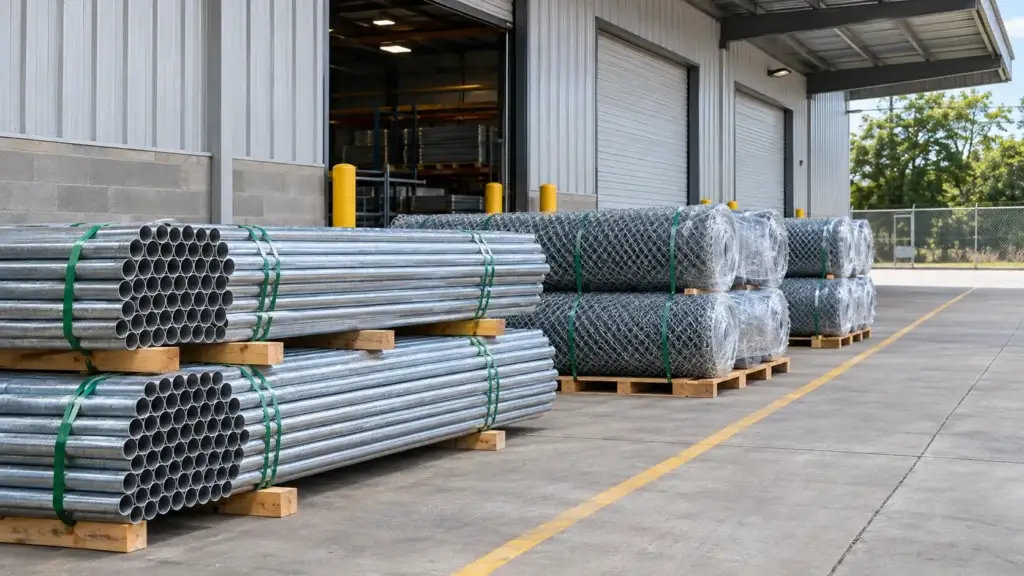
The posts and rails category asks for outside diameter, wall specification, lengths and quantities. Include those details where known.
Connect the framework list to the sketch
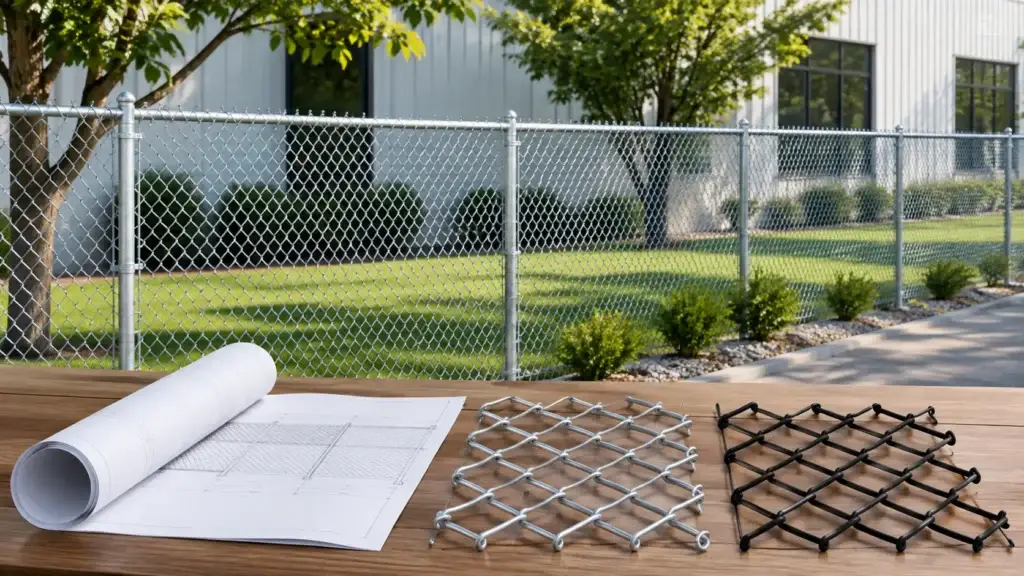
Mark fence runs and gate references on the layout. Then organize the framework schedule so someone can trace each group back to its position.
| Group | Useful schedule information |
|---|---|
| Line posts | Run reference, quantity and specified tube dimensions |
| End posts | Termination location and required connections |
| Corner posts | Corner reference and adjoining runs |
| Gate posts | Gate reference and specified support arrangement |
| Rails | Run references, sizes, lengths and connection requirements |
A gate at the end of a run can make the drawing harder to interpret. Ask your installer to show whether one position serves multiple functions or whether separate posts are required. Avoid counting the location twice by assumption.
Record slopes and existing connections
Show grade changes and any proposed connection to an existing fence. These details may affect the arrangement your project team specifies.
For replacement rails or posts, identify the actual tube dimensions and connection points. A visually similar rail is not enough to establish compatibility with existing fittings. Include photographs alongside the measurements.
Keep fittings linked to the framework
Caps, rail ends, bands and other fittings need to match the parts they connect. When a tube specification changes, review the associated fittings and hardware too.
Do not use a generic post-spacing calculation to finalize a material order. Gate loads, site conditions and the selected system belong in the project design review. Have your installer or designer confirm the schedule before approval.
Submit the information you have
If some sizes remain undecided, state that explicitly. A labeled preliminary list gives the supply team a better starting point than an unsupported final-looking quantity.
Request a framework quote with your layout, post groups, rail requirements and delivery destination. Add the project specifications or marked drawing when available.