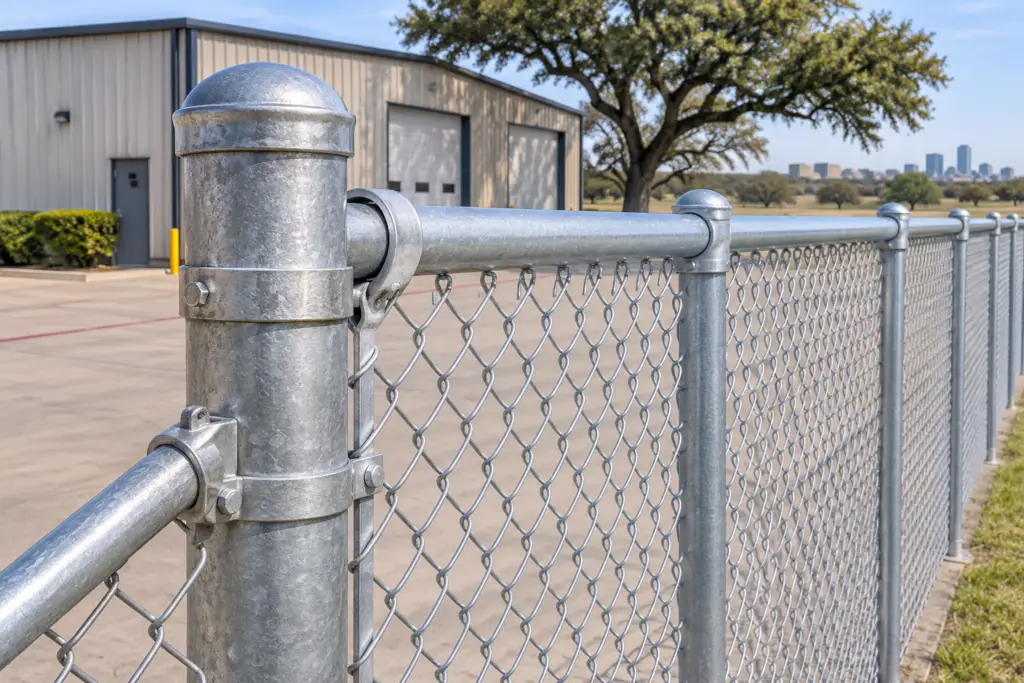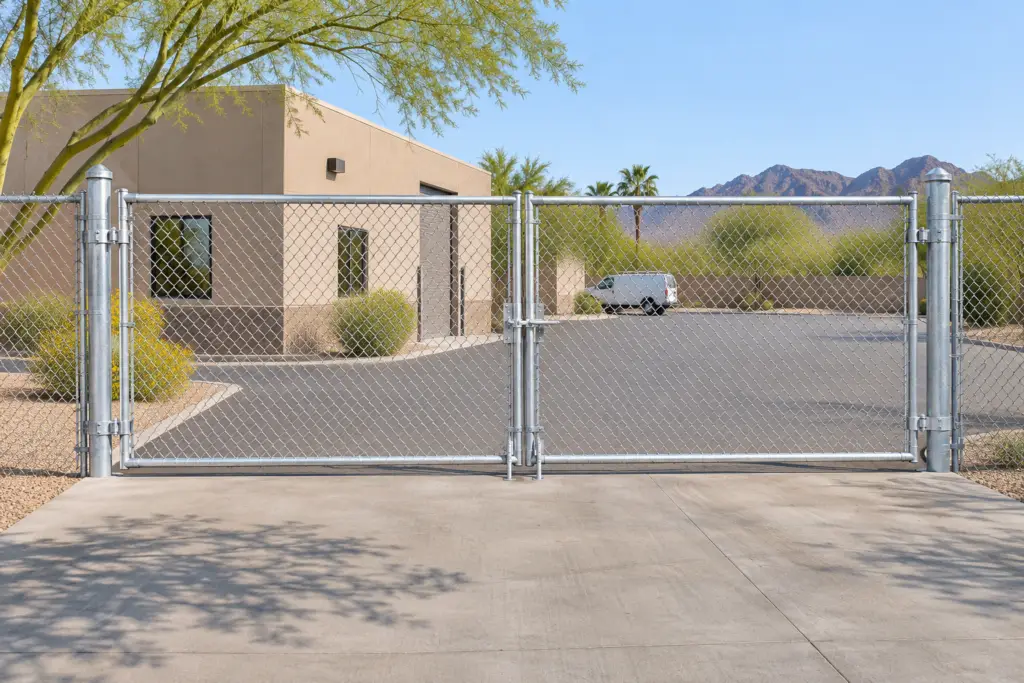
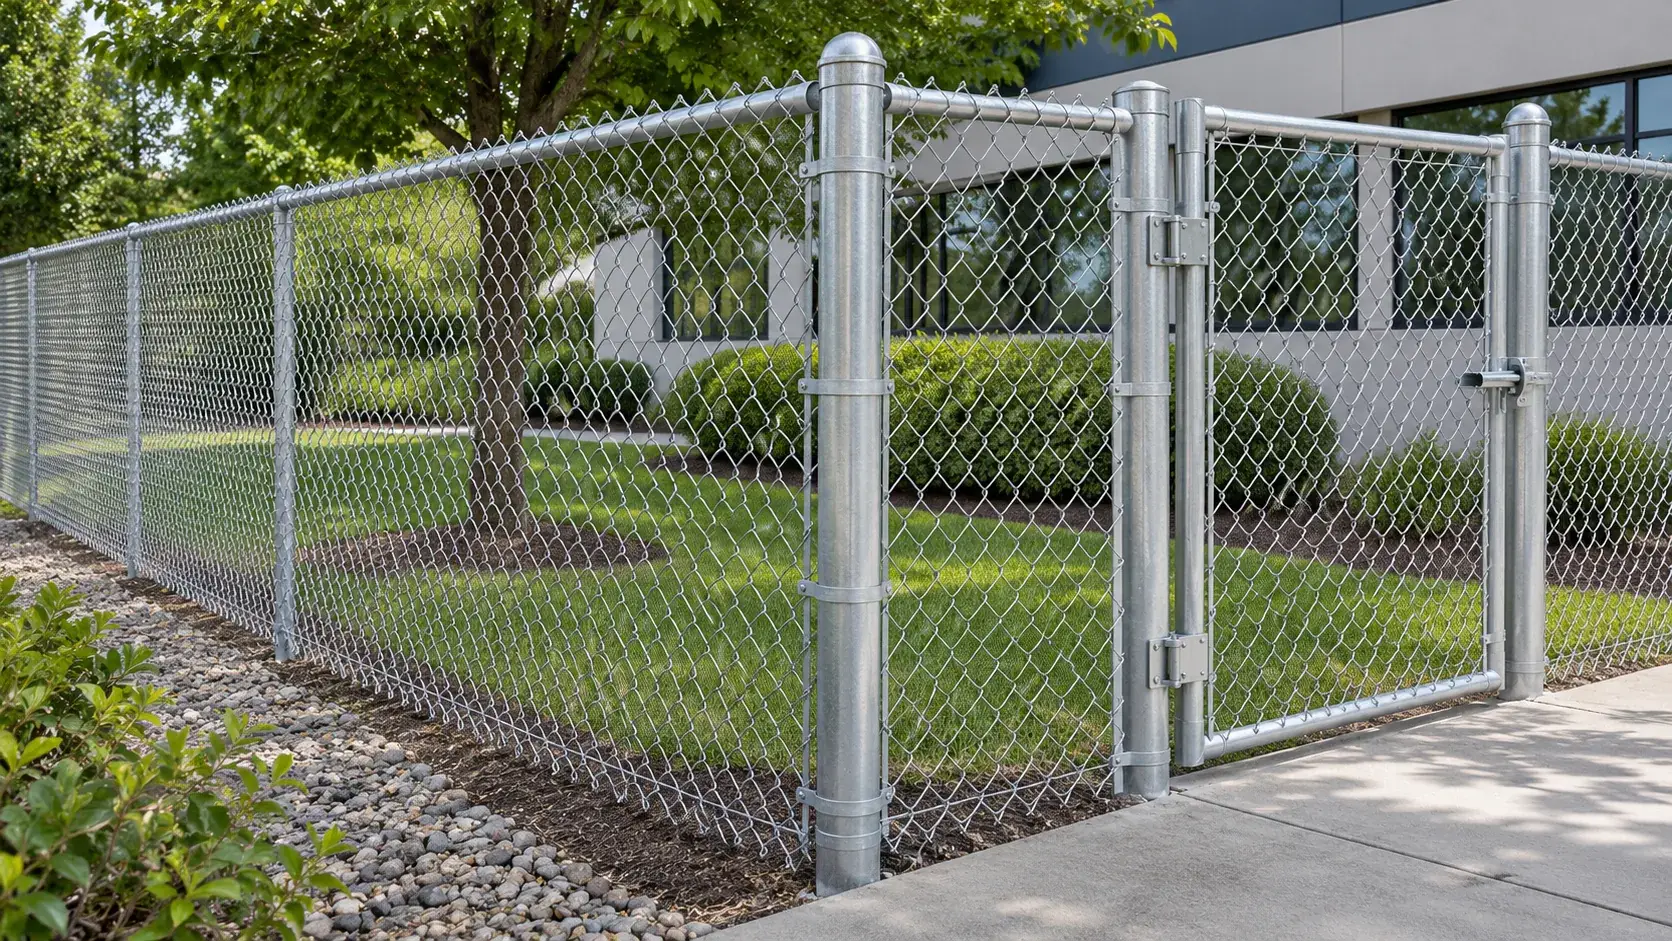
A useful chain-link fence material list begins with the layout. Total footage alone does not show where the fence ends, turns a corner or meets a gate. Those details affect the posts, rails and connecting parts that belong in the quotation.
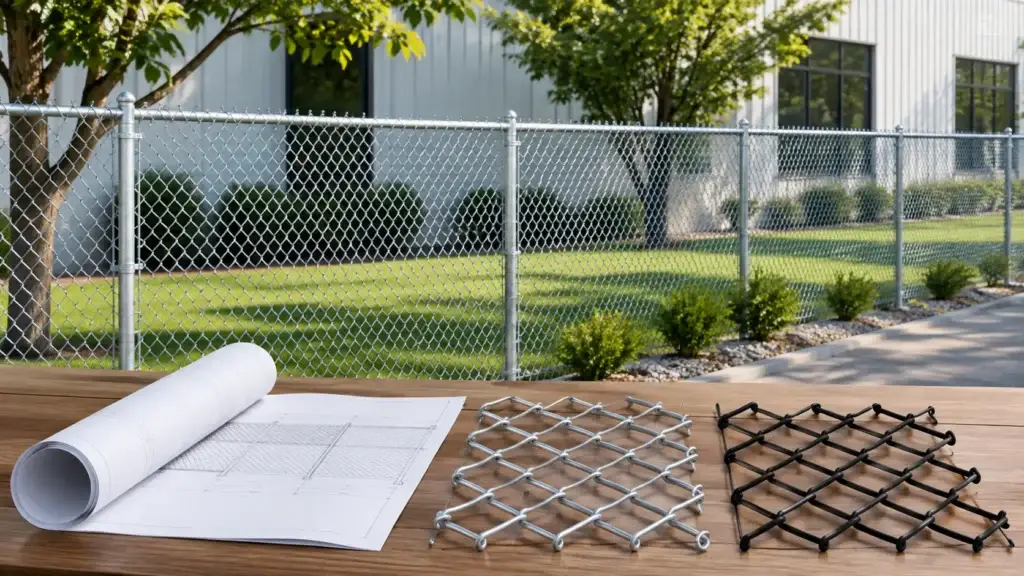
Start with a marked sketch and the measurements you have. Preliminary information is welcome; label estimates and undecided specifications so they can be reviewed before an order is confirmed.
Label each run and opening
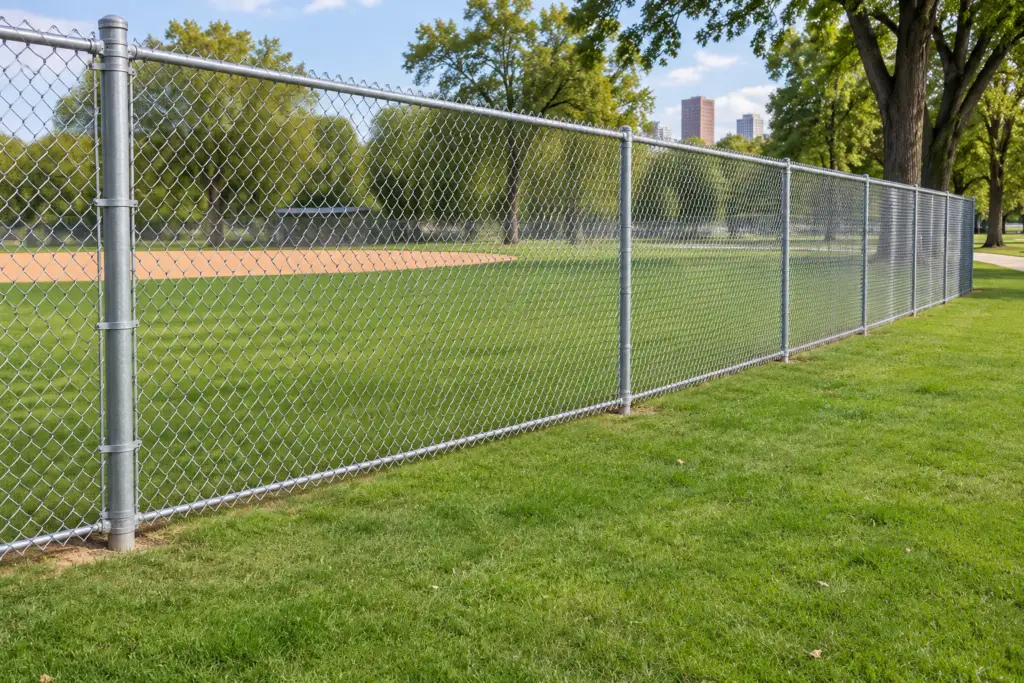
Give each fence segment a reference such as R1 or R2. Show its start and end points, approximate length and units. Mark corners, ends, changes in grade and connections to existing fencing.
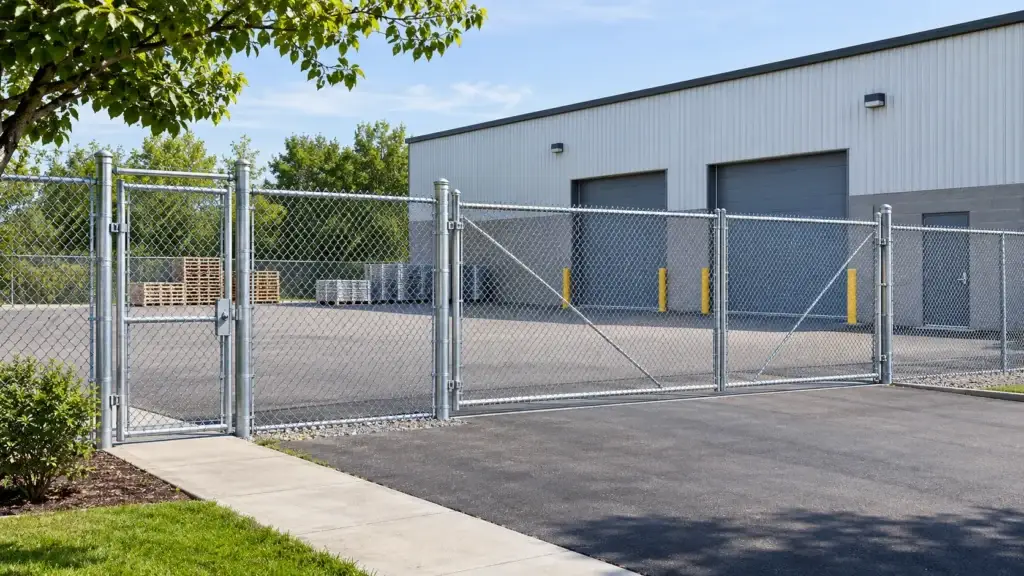
Label gates separately, such as G1. State whether a dimension is the clear gate opening, a fence-only segment or an overall boundary measurement that includes the gate. This avoids counting the same space twice.
For example, a fictional sketch might label R1 “rear boundary, fence only,” R2 “side boundary, fence only” and G1 “vehicle opening between R2 and the entrance post.” Add the measured dimensions to those references rather than submitting one unlabeled perimeter total.
Separate the material groups
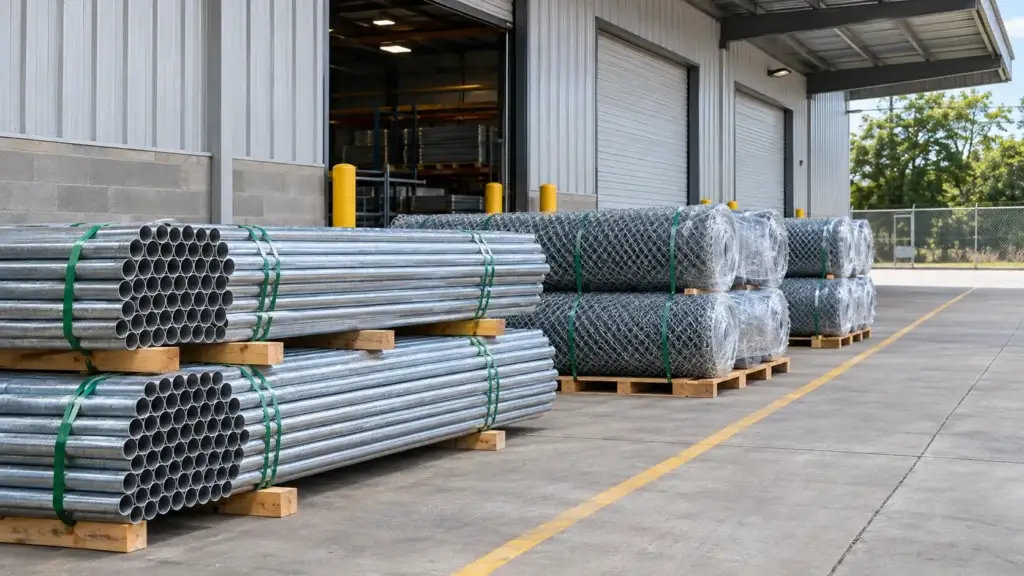
Organize your list under fabric, framework, gates and fittings. For the fabric, record height, mesh opening, wire specification, finish and footage. For framework, identify the specified line, end, corner and gate posts, plus rails and their dimensions.
List each gate’s clear opening, height, operation and hardware requirements. Keep fittings visible as a separate group so bands, caps, ties and connection parts are not lost inside a general “fence materials” description.
A complete material package can bring these groups into one quotation. The scope follows your project layout and specification rather than a universal kit.
Use a simple schedule
| Reference | What to record |
|---|---|
| Fence run | Start/end points, length, height, finish and grade notes |
| Corner or end | Location and specified post arrangement |
| Gate | Clear opening, height, operation and supporting components |
| Existing connection | Dimensions, condition notes and photographs |
| Delivery | Destination, receiving contact and access restrictions |
Add a date or revision number. If the layout changes, identify the changed references and send the updated version.
Keep design decisions identifiable
Do not turn an approximate layout into final post spacing, foundation dimensions or a structural specification by guesswork. Have your installer or project designer establish those details and confirm component compatibility before ordering.
If you do not yet know a specification, mark it “to be confirmed.” The ordering guide explains the quotation and approval process.
Send the list with your destination
The quote form accepts an optional PDF, JPG, PNG or WebP plan or list up to 5 MB. Include only relevant project information. State the delivery city, state or province, postal code and country so freight can be reviewed for the actual destination.
Request a chain-link materials quote with your marked sketch, component requirements and receiving details.